Let's talk about how to handle HTML, JavaScript & CSS minification & inline them automatically with file naming conventions in Eleventy.
This is the 6th post of the series - building personal static site with 11ty. Feel free to jump straight to the GitHub Repo jec-11ty-starter if you are a code-first person. 😉
What do we want to achieve?
The main goal is to serve the optimized minified version of HTML - with mostly inline JavaScript and CSS to our users, but our source files should be organized separately.
As a bonus, I will share the workflow of minifying external CSS and JavaScript files as well.
What do you mean by inline?
Inline means writing CSS and JavaScript in the same HTML file using the <style> and <script> tag. (For CSS, some say that's called internal CSS, but I will refer that as inline in this post, for simplicity's purpose)
Could you show me an example?
Sure! Here is the expected file structure. Notice that we have new CSS and JavaScript files created with same name as the template file:
# file structure

- src
  - _includes
    - base.layout.njk
    - base.layout.css # new file
    - base.layout.js # new file
  - root
    - index.njk
    - index.css # new file
    - index.js # new file
Here is a sample of the base.layout.* source code:-
<!-- src/_includes/base.layout.njk -->

<html>
  <head>...</head>
  <body>
    <h1>{{ title }}</h1>
    <p>{{ content | safe }}</p>
  </body>
</html>
/* src/_includes/base.layout.css */

h1 {
  background: red;
}
/* src/_includes/base.layout.js */
const h1 = document.querySelector('h1');
h1.innerText = h1.innerText + ' | Surprise!';
Here is a sample of the index.* source code:-
<!-- src/root/index.njk -->
---
layout: base.layout.njk
title: Home Page
---

<p>Lorem Ipsum blah blah</p>
/* src/root/index.css */

p {
  color: blue;
}
/* src/root/index.js */
const p = document.querySelector('p');
p.innerText = p.innerText + ' yay!';
.
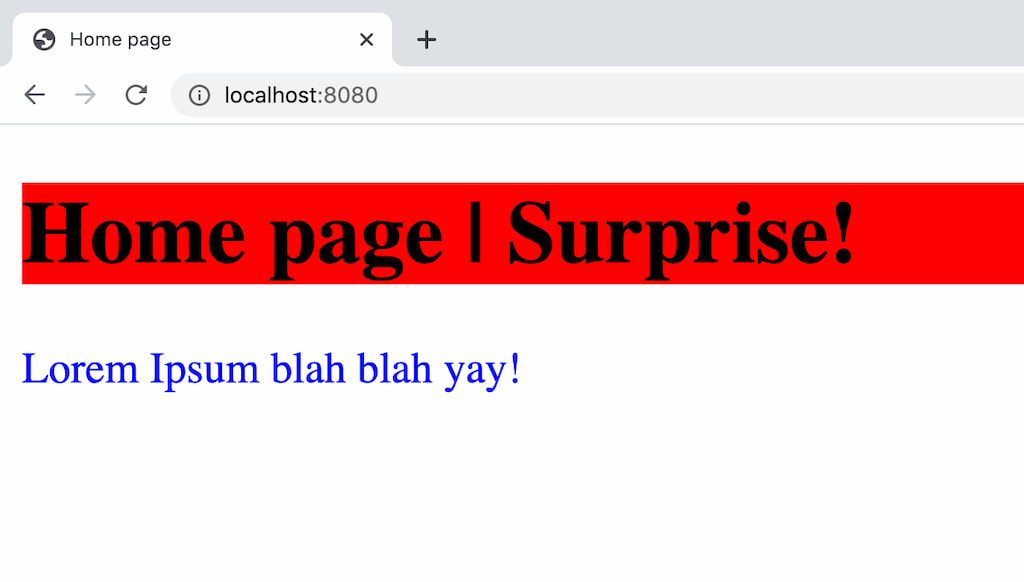
The expected output in the dist folder should be the minified version of the index.html, shown below:
<!-- dist/index.html -->

<html>
  <head>
    <style>
      /* from base.layout.css */
      h1 {
        background: red;
      }

      /* from index.css */
      p {
        color: blue;
      }
    </style>
  </head>
  <body>
    <h1>Home Page | Surprise!</h1>
    <p>Lorem Ipsum blah blah yay!</p>
    <script>
      // from index.js
      const p = document.querySelector('p');
      p.innerText = p.innerText + ' yay!';

      // from base.layout.js
      const h1 = document.querySelector('h1');
      h1.innerText = h1.innerText + ' | Surprise!';
    </script>
  </body>
</html>
Why inline JavaScript and CSS?
When building my personal site, I asked myself:
Will there be a lot of JavaScript and CSS in each page?
My answer is NO. Unlike enterprise applications, there will be very minimal CSS and JS in this project.
Why do you want to separate the JS and CSS source code?
The syntax highlighting support in individual files is better than inlining them in Nunjucks or Markdown templates.
Also, I am obsessed with file structures. 😂 I will split the code into individual files when it goes more than 10 lines usually (or 5 sometimes), but this is purely personal preference.
That being said, we can still write CSS in the template file directly if we want.
Setting up the minification workflow
In the previous post, we used Gulp to set up image transformation, so we will stick to that. Let's install some packages to help us with our HTML, JS and CSS minification workflow!
npm install gulp-htmlmin terser -DNext, we will create a new file under the tasks folder.
# create a new task

- tasks
  - minify-output.gulp.js # new file
Here is the code to handle HTML, CSS and JS minification together:
// tasks/minify-output.gulp.js

const { src, dest, series } = require('gulp');
const htmlmin = require('gulp-htmlmin');
const jsMinify = require('terser').minify;

const OUTPUT_DIR = 'dist';

function minifyHtml() {
  return src(`../${OUTPUT_DIR}/**/*.html`)
    .pipe(
      htmlmin({
        // options offered by the library (lib)
        collapseWhitespace: true,
        useShortDoctype: true,
        removeComments: true,
        // lib supports inline CSS minification too
        minifyCSS: true,
        // lib support inline JS minification as well
        // with a catch, so we need to use terser instead
        minifyJS: (text, _) => {
          const res = jsMinify(text, { warnings: true });
          if (res.warnings) console.log(res.warnings);
          if (res.error) {
            console.log(text);
            throw res.error;
          }
          return res.code;
        },
      })
    )
    .pipe(dest(`../${OUTPUT_DIR}`));
}

exports.default = series(minifyHtml);
The gulp-htmlmin package uses @kangax's famous html-minifier library under the hood. The library supports:
Take a look at the html-minifier documentation, there are a lot of configuration options you can play around with (e.g. collapseWhitespace, minifyCSS are just some of the options we used above).
One catch - the default JavaScript minification library UglifyJS is not actively maintained anymore and doesn't support the modern JavaScript syntax (ES6+). Therefore, we replace it with the Terser library.
Note that we will run this task after Eleventy processes our files to the output dist folder (unminified HTML files). We will then reprocess the HTML files, and replace the content with the minified one.
You may add the NPM scripts below to run the task each time after a production build.
// package.json
{
  "scripts": {
    "build:prod": "ELEVENTY_ENV=prod npx eleventy", // existing script
    "postbuild:prod": "npm run minify-output",
    "minify-output": "npx gulp -f tasks/minify-output.gulp.js"
  }
}
.
Great, our minification workflow has been set up successfully! Next, we need to work on inlining the JS and CSS files, BEFORE we run the minification task.
Inline with Nunjuck include
In the 11ty documentation site, there is a quick tips section on how to handle inline CSS and inline JS.
In short, here is how you can do it:-
<!-- src/_includes/base.layout.njk -->

<html>
  <head>
    ...
    <!-- store the css file content as a string variable -->
    {% set cssStr %}
      {% include "index.css" %}
    {% endset %}
    <!-- interpolate it in style tag -->
    <style>
      {{ cssStr  | safe }}
    </style>
  </head>
  <body>
    ...
    <!-- store the js file content as a string variable -->
    {% set jsStr %}
      {% include "index.js" %}
    {% endset %}
    <!-- interpolate it in script tag -->
    <script>
      {{ jsStr  | safe }}
    </script>
  </body>
</html>
The code above is pretty expressive by itself. We first include the file content and assign them to variables, then interpolate them in their respective tags.
Nunjucks' include tag allow you to pull in other file content in place. It's useful when you need to share smaller chunks of content across several files.
Not good enough... Let's improve it
The code above works. However, you have to copy-paste, edit the above code every time, and each file manually. 😥 The syntax is a bit verbose (syntax noise is real).
I enhanced the code above a little by using Nunjucks macro.
The macro tag allows us to define reusable chunks of content. It is similar to JavaScript module. Once defined, we can import and use them.
1st improvement - write the macros
Let's start by creating a macro file.
# file structure

- src
  - _includes
    - base.layout.njk
    - src.macro.njk # new file
.
We will write two macros in this file. One for CSS and one for JS.
<!-- src/_includes/src.macro.njk -->

<!-- macro for css, accept a filename as input -->
{% macro css(filename) %}
  {% set cssStr %}
    {% include filename %}
  {% endset %}

  <style>
    {{ cssStr | safe }}
  </style>
{% endmacro %}

<!-- macro for js, accept a filename as input -->
{% macro js(filename) %}
  {% set jsStr %}
    {% include filename %}
  {% endset %}

  <script>
    {{ jsStr | safe }}
  </script>
{% endmacro %}
We have two macros functions css and js. Each accepts an input parameter filename. Did you notice that these code are similar to the previous (except the macro part)? You are right. We just moved them in.
Now, let's update our base layout to use the macros!
<!-- src/_includes/base.layout.njk -->

<!-- import the macro -->
{% import "src.macro.njk" as src with context %}
<html>
  <head>
    ...
    <!-- use the css macro -->
    {{ src.css('base.layout.css') }}
  </head>
  <body>
    ...
    <!-- use the js macro -->
    {{ src.js('base.layout.js') }}
  </body>
</html>
Does the code in our base layout look better now? 😁 We can reuse the macros this way for all layouts (e.g. wiriting.layout.njk) - Import the macro, then use it by passing in the filename.
How about our template files?
For each of our web page templates (e.g. index.njk, 2020-05-19-post-one.md), we have an even better way to handle the css and js inline.
In my previous post, we've set up base.layout.njk as the master layout - all of our templates and layouts are inherited from base.layout.njk.
We can inline the page specific CSS and JS in base.layout.njk.
First, modify our base layout to include two more lines.
<!-- src/_includes/base.layout.njk -->

{% import "src.macro.njk" as src with context %}
<html>
  <head>
    ...
    {{ src.css('base.layout.css') }}
    <!-- include the page template CSS -->
    {{ src.css(page.inputPath) }}
  </head>
  <body>
    ...
    {{ src.js('base.layout.js') }}
    <!-- include the page template JS -->
    {{ src.js(page.inputPath) }}
  </body>
</html>
Here, we utilize the Eleventy Supplied Data to get the value of the current page.inputPath.
For example, the input path for index.njk would be ./src/root/index.njk.
The code above doesn't work (just yet) because:-
- Individual JS or CSS files are optional - For example, I might not have
licenses.cssorlicenses.jsfor the templatelicenses.njk. The import should be optional, no error should be thrown if no files found. - Incorrect file extension - The
page.inputPathreturn files in.mdor.njkextension. We need to replace that with.jsor.css. - Incorrect file path - For example, the
index.*should be../root/index.*instead of./src/root/index.*. It is because the file path should be relative to the base layout location (which we wrote ourimportmacro statement). Below is our file structure again for your reference.
# our file structure

- src
  - _includes
    - base.layout.njk
    - base.layout.css
    - base.layout.js
  - root
    - index.njk
    - index.css
    - index.js
.
Alright, let's fix all the issues above in our macro file!
<!-- src/_includes/src.macro.njk -->

{% macro css(filename) %}
  <!-- change relative path -->
  {% set path = filename | replace('./src/', '../') %}
  <!-- replace file extension -->
  {% set path = utils.replaceExtension(path, 'css') %}

  {% set cssStr %}
    <!-- ignore if missing -->
    {% include path ignore missing %}
  {% endset %}

  <style>
    {{ cssStr | safe }}
  </style>
{% endmacro %}


{% macro js(filename) %}
  <!-- change relative path -->
  {% set path = filename | replace('./src/', '../') %}
  <!-- replace file extension -->
  {% set path = utils.replaceExtension(path, 'js') %}

  {% set jsStr %}
    <!-- ignore if missing -->
    {% include path ignore missing %}
  {% endset %}

  <script>
    {{ jsStr | safe }}
  </script>
{% endmacro %}
With the above changes, we've fixed all the 3 issues we mentioned above.
You might be wondering where did the utils.replaceExtension function come from? It's a new function. Let's create that in our global _data file.
# file structure

- src
  - _data
    - utils.js # new file
Here is the code:
module.exports = {
  replaceExtension: function (file, extension) {
    return file.replace(/([^\.]*)$/, extension);
  },
}
We use regex to find the file extension and replace it with the expected extension.
Viola! Try to run the build or browse to our home page now, you should see the result shown as expected!
Note that we don't need to add an import statement in any of our page templates (e.g. root/index.njk, blog/2020-05-19-post-one.md) because we have configured that in the master base layout.
The page template JS and CSS files will be inlined automatically, as long as the filename matches the template file. 😁
What if I want to inline a shared CSS file?
Let's say you have a css file called table.css. It is a shared CSS, you want to inline that for a few templates only. Here is how you can do it.
Place the file under assets/css folder.
# file structure

- assets
  - css
    - table.css # new file
- src
  - root
    - index.njk
    - index.css
    - ...
Let's say you want to inline that in root/index.njk. There are two ways to do it.
Option one: include in th template CSS file
Update your root/index.css file.
/* src/root/index.css */

h1 {
  background: red;
}

{% include "../../assets/css/table.css" %}
Use the Nunjucks include statement in the CSS file (yes, we can). The CSS will be included accordingly.
Option two: include in the template file
To do this, you need to import the macro file.
<!-- src/root/index.njk -->

---
layout: base.layout.njk
title: Home Page
---
<!-- import and apply css -->
{% import "src.macro.njk" as src with context %}
{% src.css("../../assets/table.css") %}

<p>Lorem Ipsum blah blah</p>
.
These two options applied to shared js files too.
Bonus: Minify external CSS and JS files
As promised. Here is the code to minify external CSS and JS files. We will set up two more Gulp tasks to do so!
Let's install these packages:
npm install gulp-clean-css gulp-terser -DNote that we use the same libraries under the hood - clean-css and terser.
Here are the code:
// tasks/minify-output.gulp.js

const { src, dest, parallel } = required('gulp');
const terser = require('gulp-terser');
const cleanCSS = require('gulp-clean-css');

function minifyCss () {
  return src('../assets/css/*.css')
    .pipe(cleanCSS())
    .pipe(dest('dist/assets/css'));
};

function minifyJs () {
  return src('../assets/js/*.js')
    .pipe(terser({ warnings: true }))
    .pipe(dest('dist/assets/js'));
};

function minifyHtml () { ... }

// Run all the tasks in parallel
export.default = parallel(minifyHtml, minifyCss, minifyJs);
We export the tasks and execute them all in parallel.
Bonus: This is not perfect
As for every solution, inline CSS and JS is not perfect. While the page rendering is faster (eliminates additional round trips to fetch external resources), browsers are not able to cache any inline CSS and JS. This is bad if you have a huge chunk of JS and CSS.
On the other hand, browsers can cache external files. However, it might take a longer time to download external resources and page rendering is blocked while waiting the resource to be downloaded.
Another solution (only for CSS), would be critical CSS. It combines the best of both world. You can use library like Critical to:
- extract the critical CSS from the external CSS file
- inline the critical CSS into each html
- the non-critical CSS remains in external file
However, this does increase your workflow complexity. Read this article to understand more about critical CSS.
Strike a balance, make a decision
It is a conscious decision for me to inline most of the JS and CSS, because as I mentioned, this is a personal website, the JS and CSS are minimal (please don't believe me, inspect it with DevTools).
I load external CSS as well. If you inspect this page with DevTools, I load two CSS file externally - prism-{light,dark}.css (used for syntax highlight) and fonts.css (use for display nicer fonts).
I also inline a few CSS files conditionally (e.g. table.css) only when I need them on a particular template. (e.g. this blog post has a table).
It is your website, try to strike a balance between complexity and performance. Choose the best one, set up and forget about it (or revisit later).
Alrighty, what's next?
Yay! We have minified all our HTML, CSS and JavaScript - both inline and external. We learnt about the Nunjucks macro and include as well.
This is how I handle the minification of this website jec.fish as well. Did you feel my site load fast (or slow)?
In the coming posts, I plan to write about more on how I built my website with 11ty:
- Building Personal Static Site with Eleventy ✅
- Setting up GitHub Actions and Firebase Hosting ✅
- Customizing File Structure, URLs and Browsersync ✅
- Automating Image Optimization Workflow ✅
- Setting up SEO and Google Analytics ✅
- Minifying HTML, JavaScript, CSS - Automate Inline ✅
- How many favicons should you have in your site? ✅
- Creating Filters, Shortcodes and Plugins ✅
- Supporting Dark Mode in Your Website ✅
- and probably more!
Let me know if the above topics interest you.
.
Here's the GitHub repo for the code above: jec-11ty-starter. I'll update the repo whenever I write a new post.
That's all. Happy coding!
Have something to say? Leave me comments on Twitter 👇🏼
Follow my writing: @jecfish